In some circumstances, if you would like to build a custom HTML page or reuse a design of the old pages, then you need to upload HTML files to WordPress. However, how to properly upload an HTML file to WordPress? In this blog, we will provide you with a detailed answer via some simple methods. Let’s check them out.
What is an HTML file?
HTM stands for Hyper Text Markup Language. Generally, HTML is used to set up the website. However, each website has multiple pages of content, so each page will be written using HTML code. In addition, the HTML code also plays an important role in formatting or designing the structure of elements in a webpage or application, heading, links, etc.
And an HTML file will contain small markup tags and be saved as an extension of .html or .htm. In order to create an HTML file, you can use a simple text editor.
When do you need to upload an HTML file to WordPress
There are several reasons why you need to upload an HTML file to WordPress:
Firstly, in spite of that WordPress allows you to create multiple stunning pages with pre-built templates or you can use the support of prevalent WordPress page builder plugins such as Elementor, and Divi to create various pages. However, in some cases, you may prefer to use existing pages rather than build a new one. Hence, you will need to upload HTML files to save your time and ensure that it looks beautiful as you did before.
In addition, if your WordPress theme doesn’t feature a specific page layout, it is necessary to upload an HTML file with your favorite design, and then you can customize it to suit your requirements.
Further, uploading an HTML file is a useful method to verify your WordPress site with Google Search Console. Thanks to that, you will have more opportunities to improve SEO for your website.
How to Upload an HTML File to WordPress
Method 1: Use back-end editor
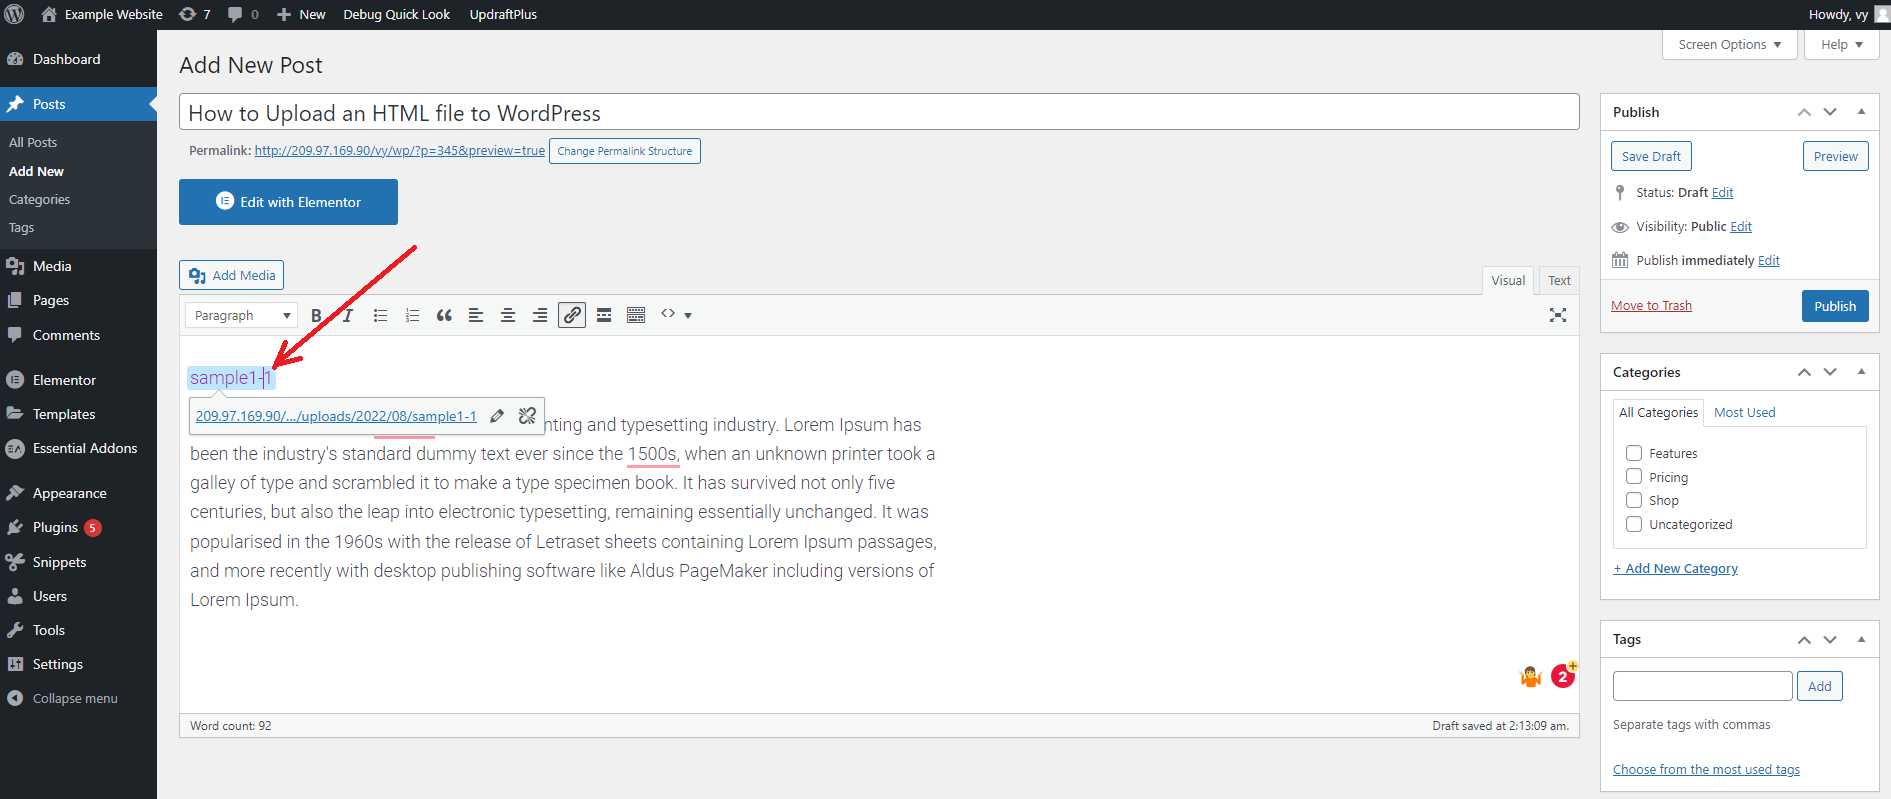
If you are using the Classic Editor, you easily add an HTML file directly to a WordPress post/page by clicking on “Add Media” and uploading your desired HTML file from your computer.
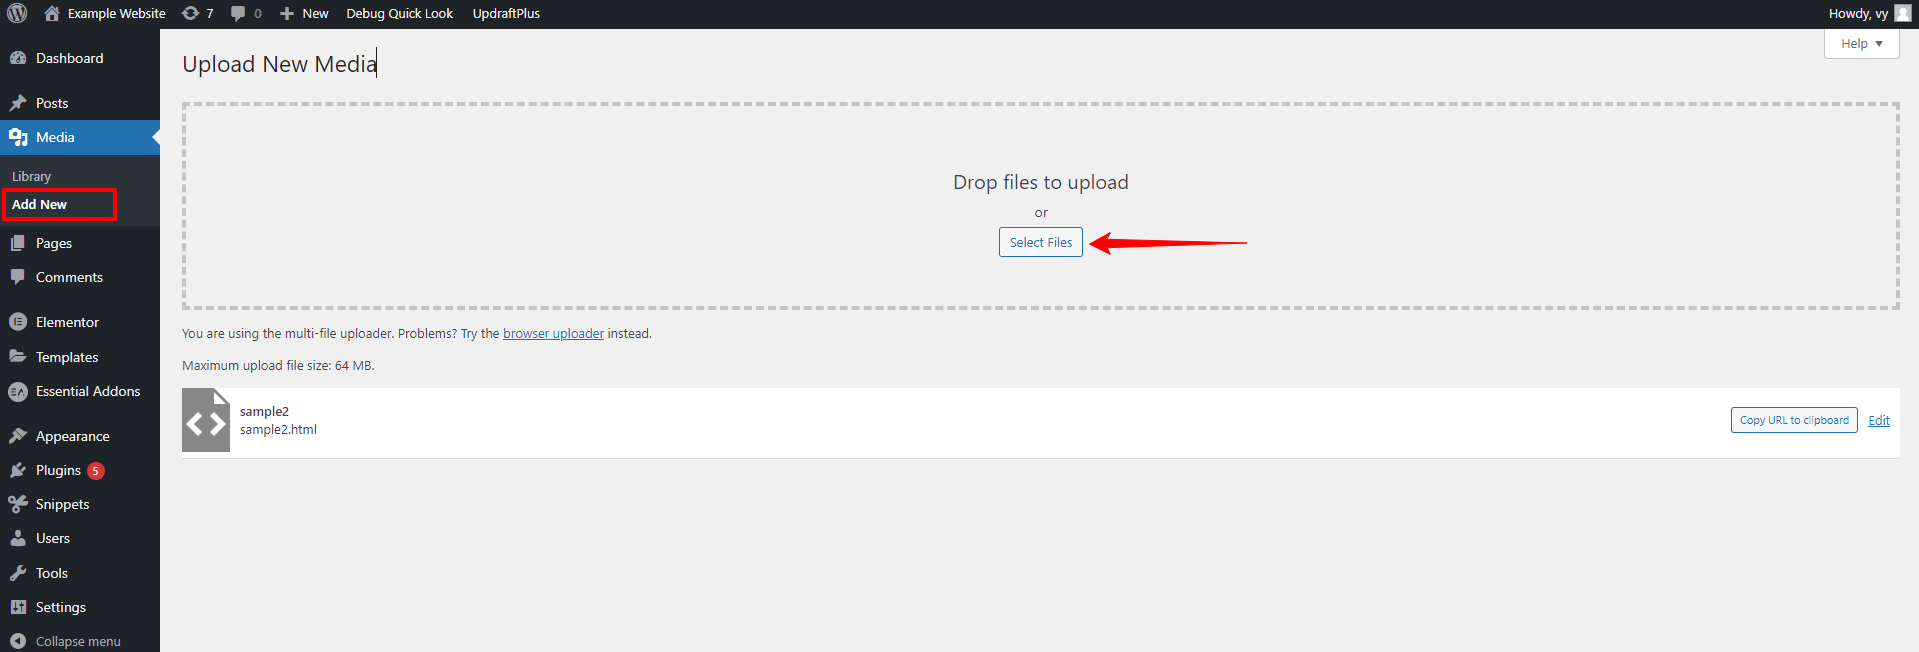
Alternatively, you can also upload an HTML file directly to Media Library instead of adding it to a WordPress post/page.
To do so, you simply navigate to Media > Add new from your WordPress dashboard. Then, click on the “Select Files” button to upload an HTML file from external locations.
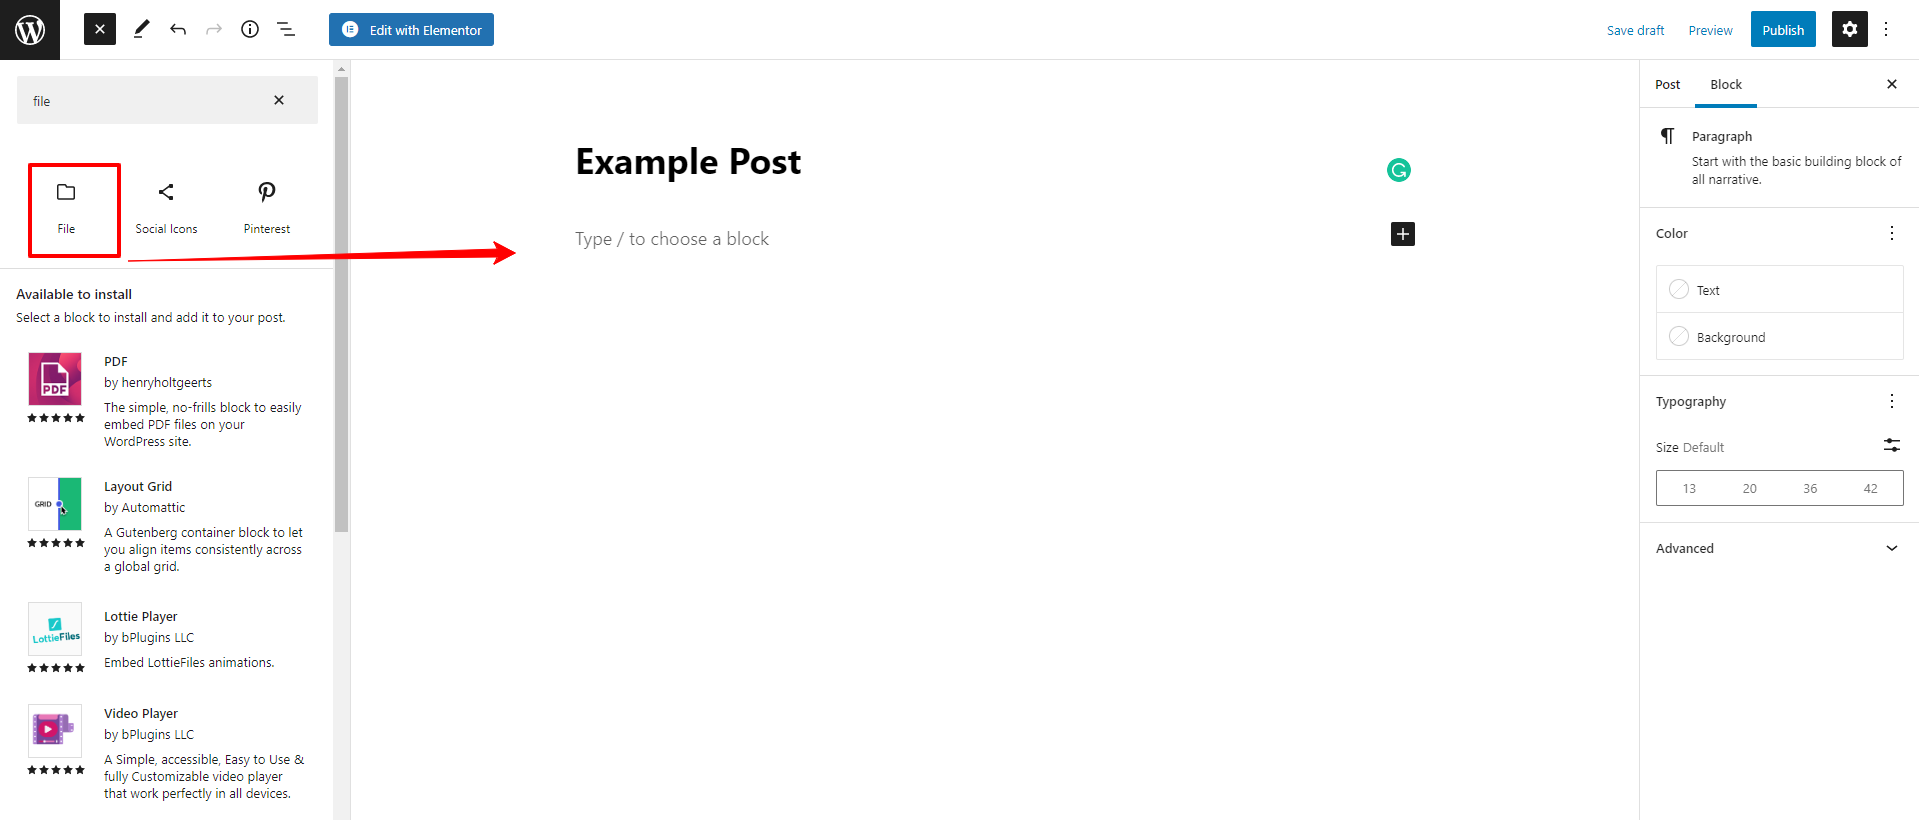
If you are using Gutenberg, you can follow the simple steps below to upload an HTML file.
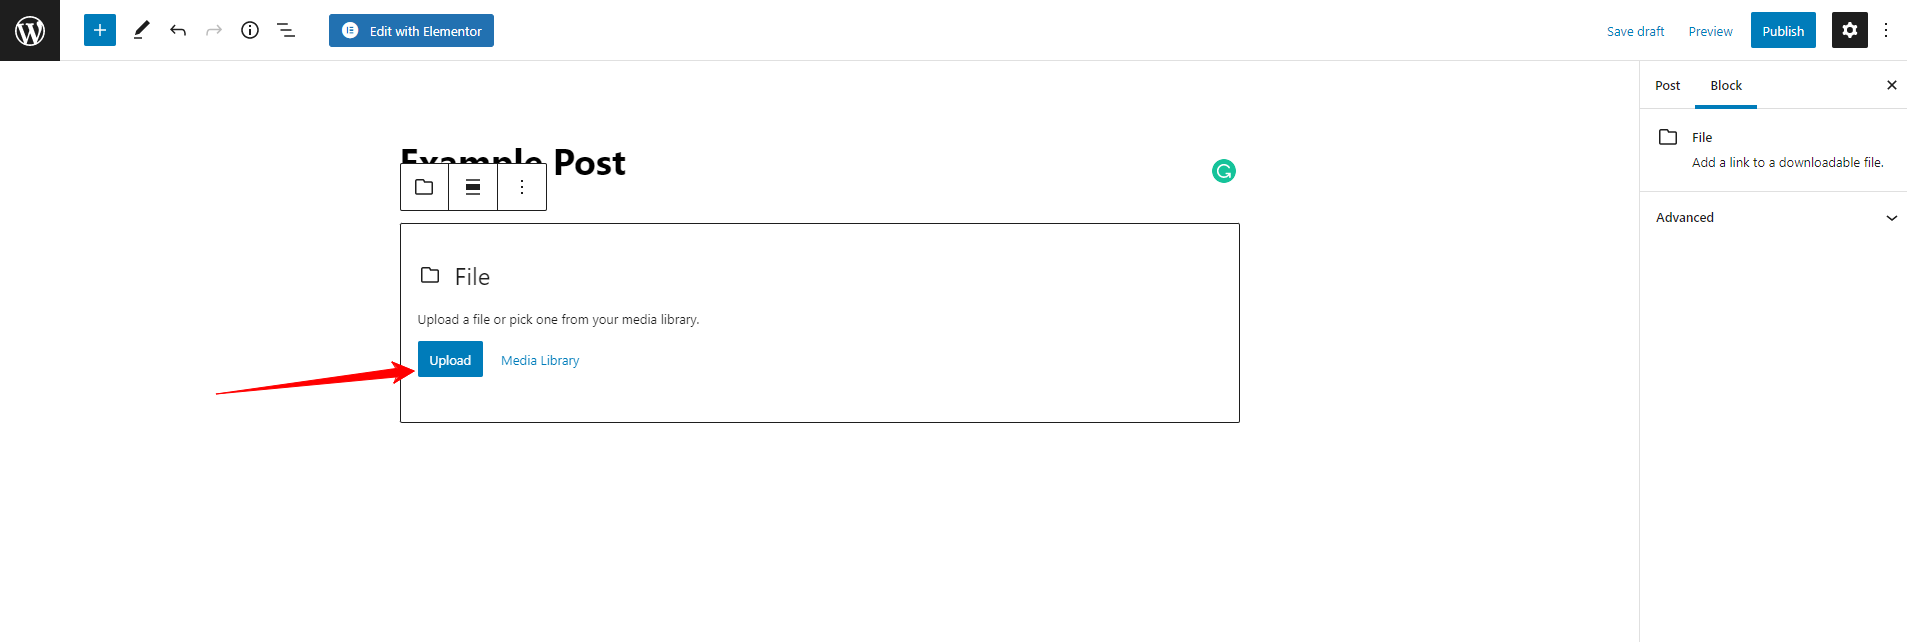
First of all, you also need to create a post/page and then add the File block by using the search bar at the top of the left-hand menu.
Similarly, click on the Upload button and choose the HTML file that you want to upload. Once the HTML file is chosen, it will be added to your post/page automatically.
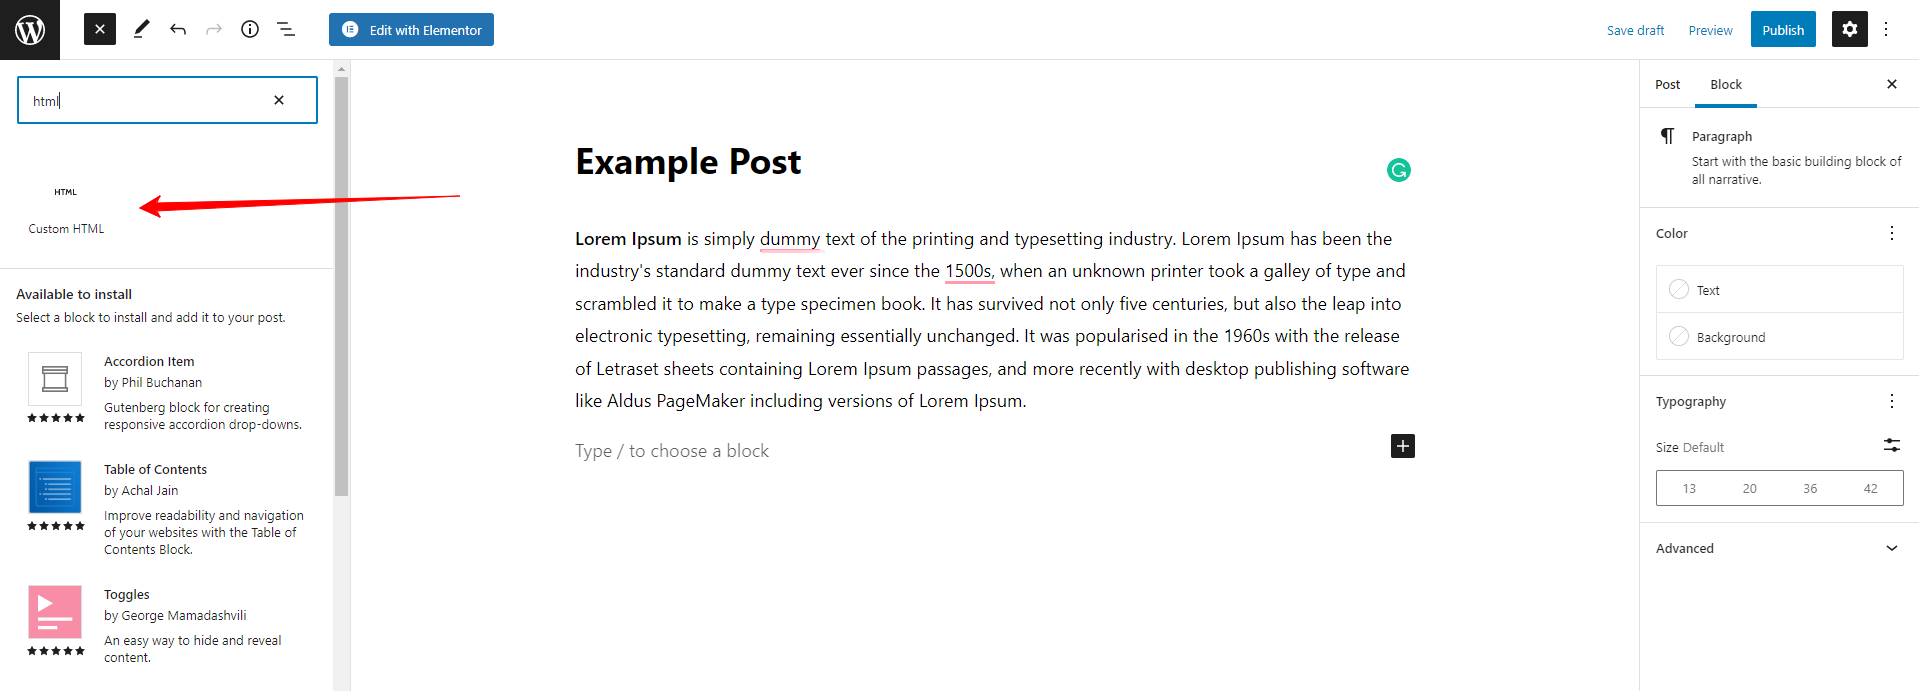
In addition, you can use HTML block. However, this block only allows you to input HTML, so you need to copy and paste it manually into a custom HTML block.
Using HTML block is more complicated than using the media option to upload. Moreover, it is a great choice once you want to upload short snippets of code. In contrast, for large uploads, using the Media option will be more convenient.
Method 2: Use your web host’s Cpanel
In addition to using the WordPress editors, you can still upload an HTML file to WordPress by using your web host’s cPanel and the File Manager. To do that, you need to track the detailed introductions below.
- Let’s log into your web hosting account’s cPanel
- Choose cPanel and access File Manager
- Navigate to your desired WordPress installation directory where you want to upload the HTML file
- Then, click on the Upload button from the top toolbar
- This will open a popup window where you can simply click on the “Select File” button and upload your HTML file from your computer
- Once the file is uploaded successfully. Now, your HTML file will be displayed under your WordPress installation directory

Method 3: Use an FTP client
If you want to upload the HTML file to WordPress manually, using an FTP client is also another great solution for you. Now, let’s follow the steps below.
- Initially, you need to use an FTP client program such as LFTP, gFTP, or FileZilla and install it.
- Now, let’s log into your web host account by providing your FTP credentials(including a Host, Username, and Password)
- Once you connected to the server, you will see a list of files available in your WordPress installation. You need to locate the HTML file on your computer in on the left-hand site where you can see the Local Site.
- From there, navigate to the directory where you want to upload the HTML file and select the file. Then, simply drag and drop it on the right-hand side where you can see Remote Site.
- Once the file is uploaded, you need to ensure that the file is uploaded correctly by going to the https://yourdomainname/yourhtmlfile.html URL in your browser. This will help lead you to the new webpage that you have created with the HTML file.
Wrap up
Although HTML files are not often uploaded in WordPress, in some necessary situations, you will need to use them. Hopefully, the 3 above-mentioned methods will help you upload an HTML File to WordPress properly. If you are happy with our blog, don’t hesitate to share with us your thoughts by leaving a comment below.
Moreover, do you own a bewitching website? Why don’t you change your website’s appearance with a list of free WordPress Themes on our website? Let’s check them out.