Timelines are widely used to demonstrate historical trends, business growth, and even the creation of new apps or software. They can be visually appealing, which is a characteristic that they share with several infographic styles. And for essentially any reason, adding a timeline to WordPress is easy. As a result, we’ll guide you through the steps to create a timeline in WordPress that will keep your visitors interested.
What will you obtain when you use a Timeline in WordPress?

Timelines are great for sharing stories, displaying products and processes, and making a complex message easier to understand for the end user. A timeline is a fantastic tool for outlining your brand’s history, achievements, and stages of product development of your business. Therefore, if you want to present any of these items that have several stages, a timetable must be included on your website.
Additionally, being clear about your business or objective might help you engage your audience. You might want to display your successes in order to expand your portfolio. A timeline may make it easier for website visitors to see your progress. Furthermore, a calendar of forthcoming events keeps potential customers engaged and informed.
We’ll talk about how to create a timeline in WordPress now.
Simple ways to create a timeline in WordPress
Because it’s one of the most widely used free WordPress timeline Plugins and because it’s easy to install and integrate into your WordPress website, we highly recommend the Timeline Express plugin to create a timeline in your WordPress.

Let’s look at the detailed tutorial to create a timeline in WordPress!
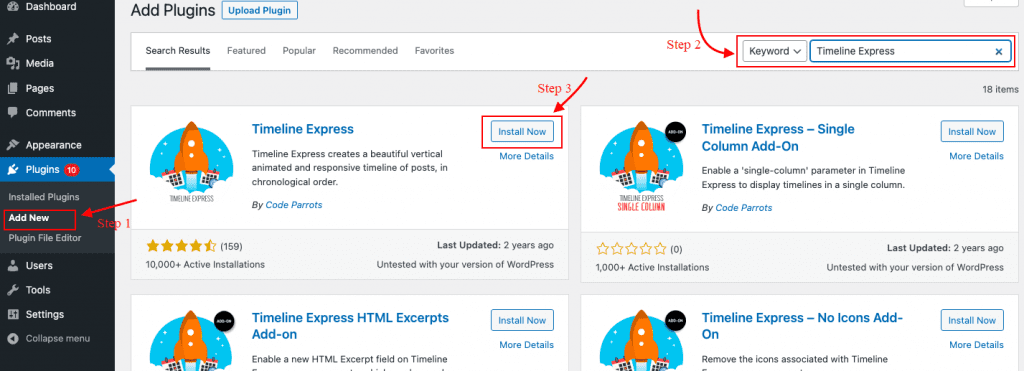
Step 1: This plugin needs to be installed and activate
These steps will instruct you how to use this plugin:
- Click Add New after choosing Plugins from the dashboard menu
- Locate the Timeline Express
- Click on the “Install Now” button
- Activate the plugin.
The plugin will direct you to its About page after activation. On this page, you may find information about getting started, including thorough instructions and details about using the plugin.
I advise going through a few of these articles if you have some free time to learn more about the plugin’s capabilities, especially the add-ons that can be loaded.
Step 2: Adjust Your Settings
From the Dashboard, click “Settings”
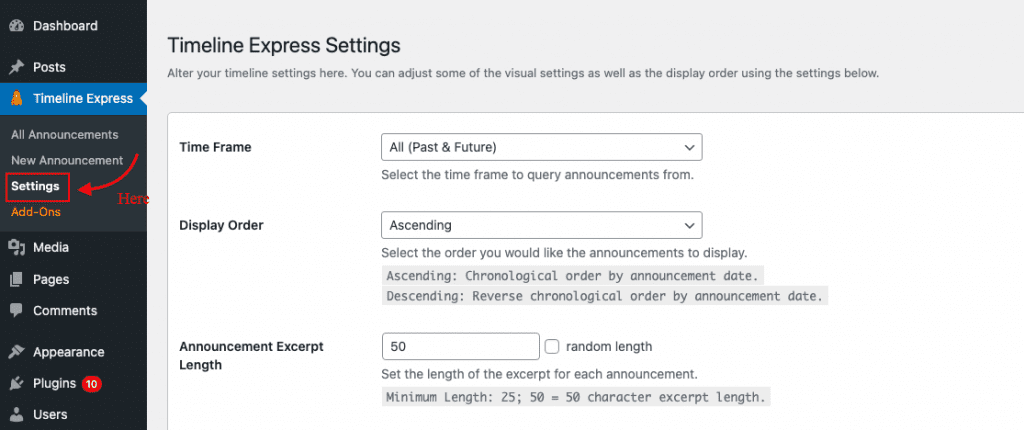
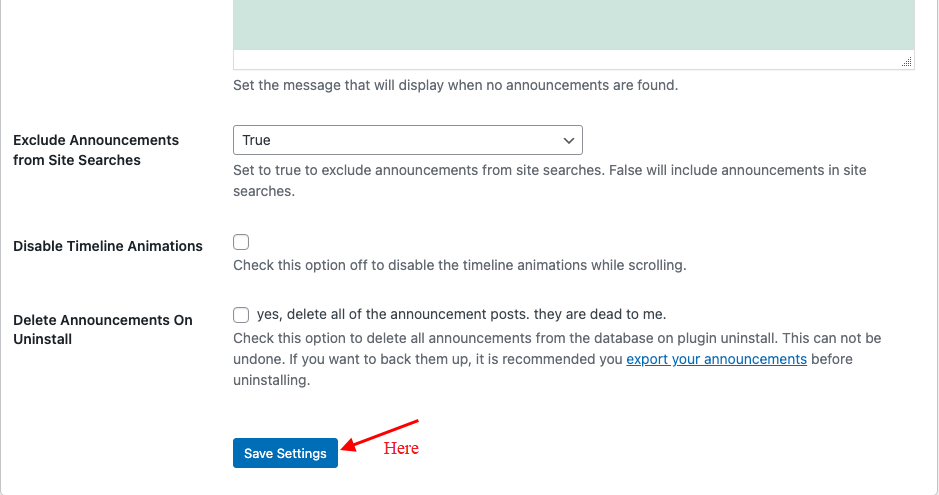
You can alter how the timeline looks on your website on this page. This covers details like the read-more links’ accessibility as well as the excerpt lengths, colors, and display order.
Any of these elements can be modified to best suit the design of your website.
Click the “Save Settings” button at the bottom when finished.
Step 3: Adding a New Announcement
This plugin’s “Announcements” are simply the timeline points you want to add. Every time you want the visitor to focus on a certain location, you must make a new statement.
Select “New Announcement” from the menu on the left.
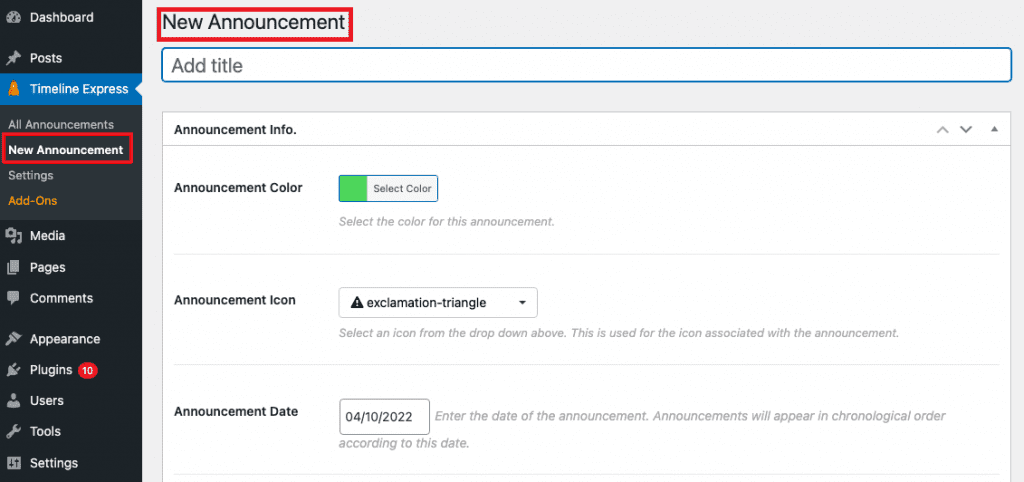
Give your announcement a title.
Type in the details you wish visitors to see. This entails changing the icon, banner, and announcement icon as well as picking a different color than the default in the settings.
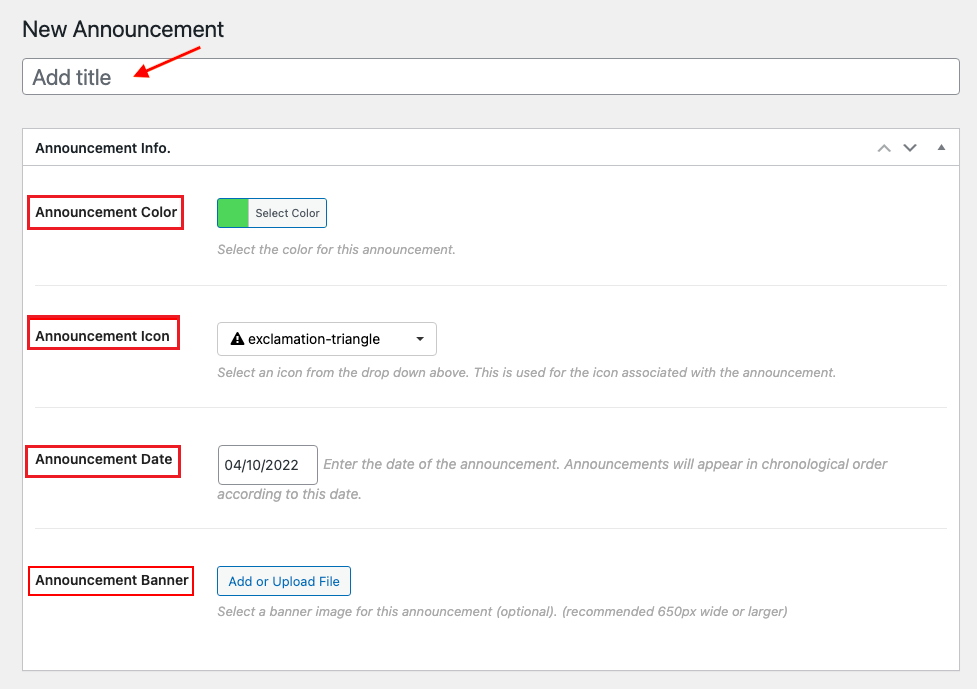
The form’s expiration date should be noted. This plugin’s announcements will be presented in chronological order. So, make sure the date of the incident is accurate while creating a history database.
Otherwise, everything might go wrong.
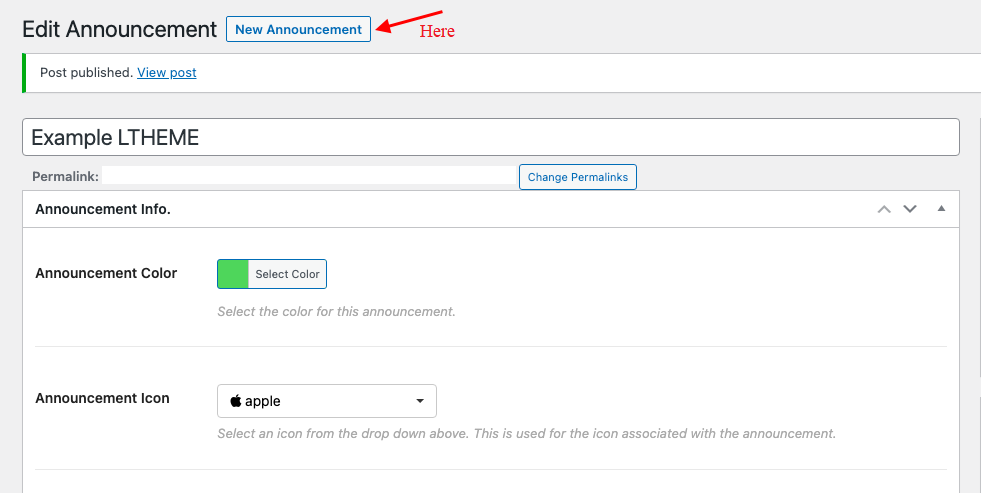
Click the “Publish” button on the form when you are finished.
Click the “New Announcement” button at the top to start over and add other announcements to the timeline. You are free to include as many points as you choose.
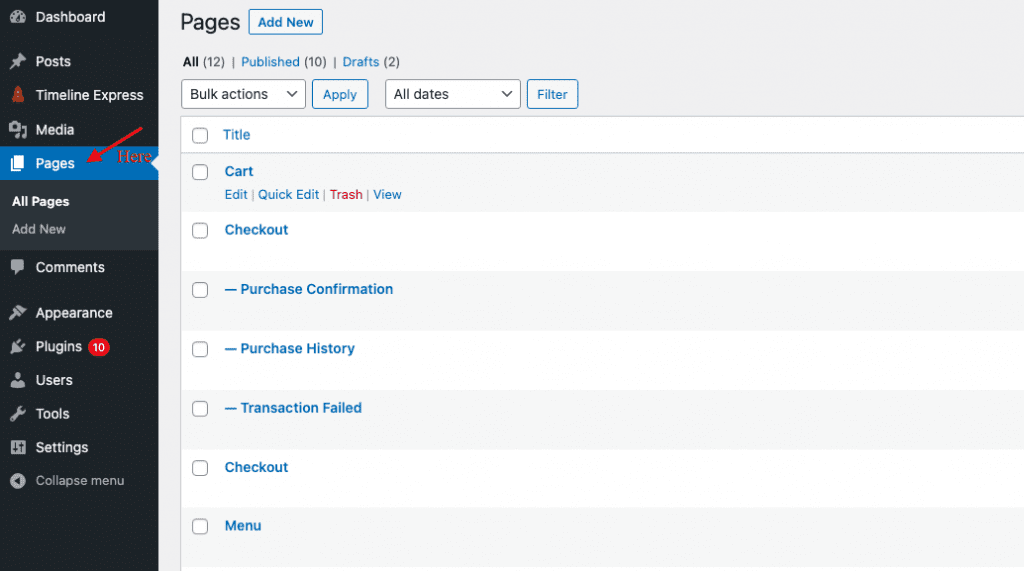
Step 4: Placing the Timeline
When you’re prepared to include the chronology, browse any article or page on your website. You may even create a brand-new one only for showing your timeline.
The timeline will show if you copy and paste the shortcode [timeline-express] into your post or page. You can add a shortcode to WordPress with ease.
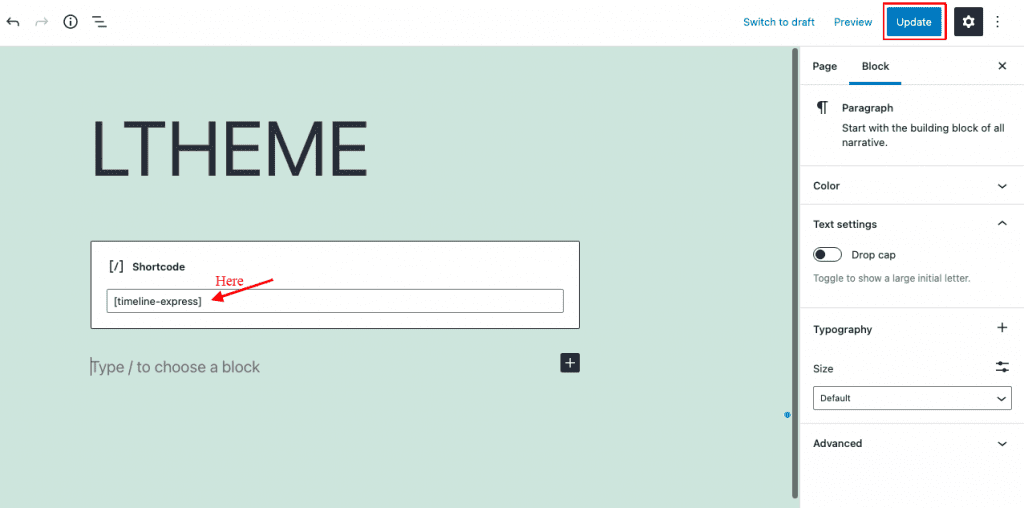
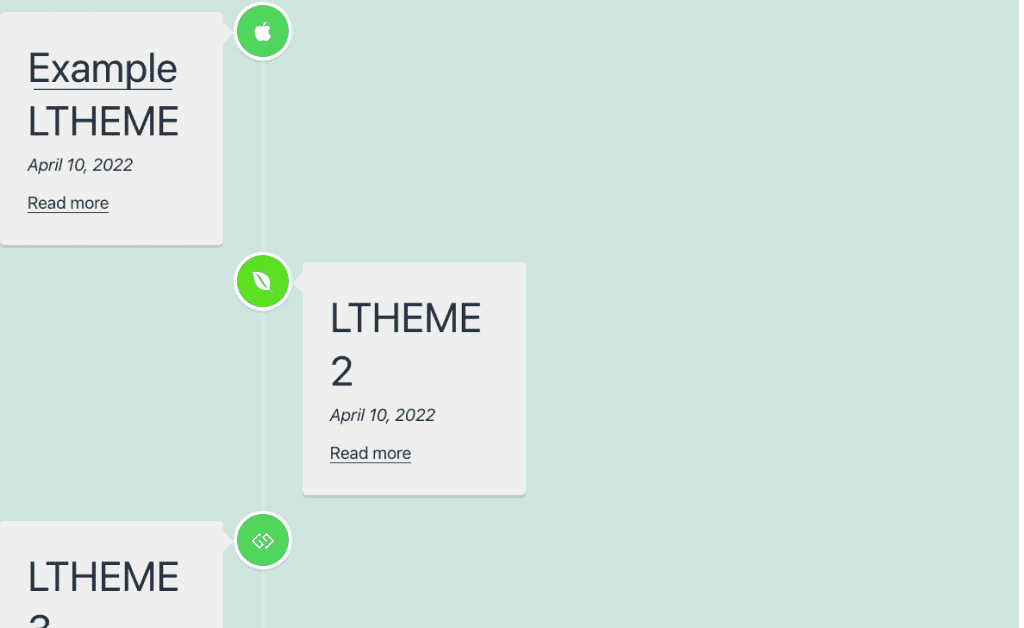
As you update or publish your page, the WordPress vertical timeline will appear.
You should carefully remember everything about how to create a timeline in WordPress after reading this.
A Conclusion
In this tutorial, we’ve previously gone over step-by-step instructions to create a timeline in WordPress. For delivering a flow process or historical record, timelines are quite helpful. Finally, you can include even more information to peak readers’ attention because each announcement, like every WordPress post, may contain content. Please share this article with your friends if you found it useful. Last but not least, please browse our Free WordPress Themes if you’re seeking a beautiful and responsive design to add more appeal and professionalism to your website.